Step by step guide to Setup .NET Core 1.0 development playground in Windows OS Family
Setting up .NET Core 1.0 development playground in Windows OS Family
1. Prerequisites
a) Windows OS, I preferred to create a Windows 10 VM in AZURE. If you want to get AZURE subscription then signup for Visual Studio Dev Essentials, Once signup you will get too many goodies free of cost including Pluralsight subscription.
b) To know more about this, check below link
https://www.visualstudio.com/en-us/products/visual-studio-dev-essentials-vs.aspx
c) I have created a Windows 10 Enterprise N (x64) VM machine and connected using Remote Desktop from my personal laptop.
d) Next is to get NodeJS from below url
e) I have installed stable version of nodejs "v4.4.7 LTS" if you like to have latest then installed available latest version, now its "v6.3.0"
2. Download and install VS Code latest version from below url
https://code.visualstudio.com/
3. Install .NET CORE from below url, as we have planned to use only VS Code then I need to download and install only ".NET Core SDK for Windows".
https://www.microsoft.com/net/core#windows
4. Now we need to have boiler plate applications to start with, for this we have 2 options
a) Using Yeoman command line tool to create .NET core web application
b) Using Yeoman extension in VS Code.
5. Let's start with command line first
a) Open windows command prompt as administrator and try to install prerequisites.
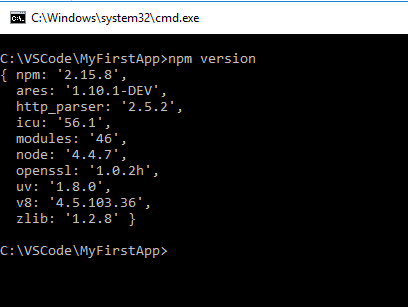
b) First of all check that Node is installed properly, just run below command, command will show many options as below:
npm versionc) I am suggesting to run below command to ensure that I have latest NPM in my machine.
npm updated) Next step is to install yeoman, grunt, gulp & bower using npm command as below
npm install -g yo bower grunt-cli gulphere -g denotes global, installing tools globally so that can be used for all applications
Note: If you face error related to access then run command as Administrator.
e) Now we need to install aspnet generator using npm
npm install -g generator-aspnetf) Now all prerequiste sinstalled, let's create a new directory and move to it using below commands
mkdir MyFirstApp
cd MyFirstApp
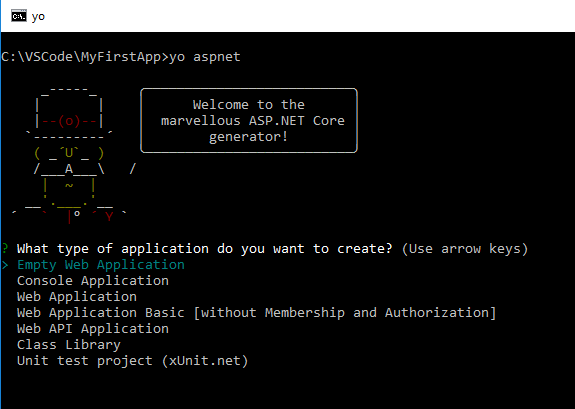
g) Run below command, it will show you 7 different options to create 7 different types of applications as below:
h) For Me, I have selected "Web Application" using down arrow and pressed enter, it ask me to select UI framework either "Bootstrap" or "Semantic UI", for now I have selected "Bootstrap and pressed enter.
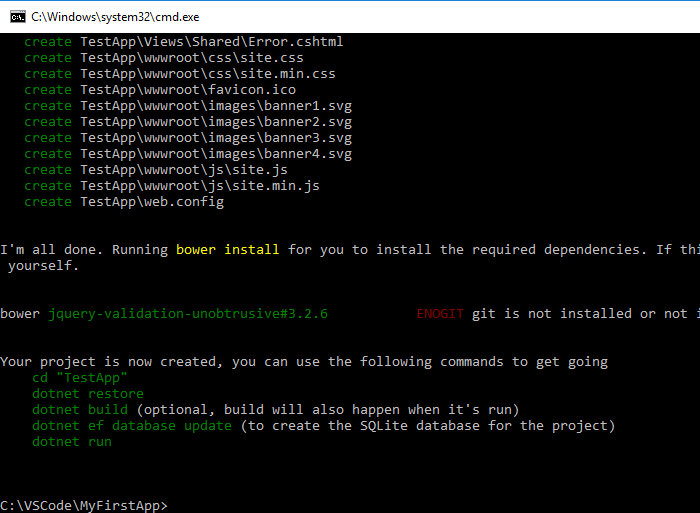
i) Now prompted for a name of my app, I have given as "TestApp" and clicked enter, once application created in the console it will show all necessary commands to be executed for running currently application.
j) Just follow as command available
cd TestApp - (to navigate to TestApp Application)

dotnet restore - (command to restore packages for the application)

dotnet build - (command to build the application, not mandatory to the application, once run it will be build first)

dotnet run - command to run the asp.net core 1.0 application using command
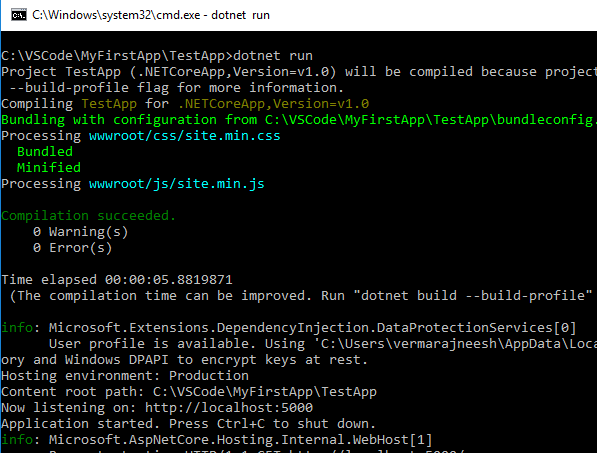
k) In the above screen you can see that application is running and it listening localhost with 5000 port, open browser and type
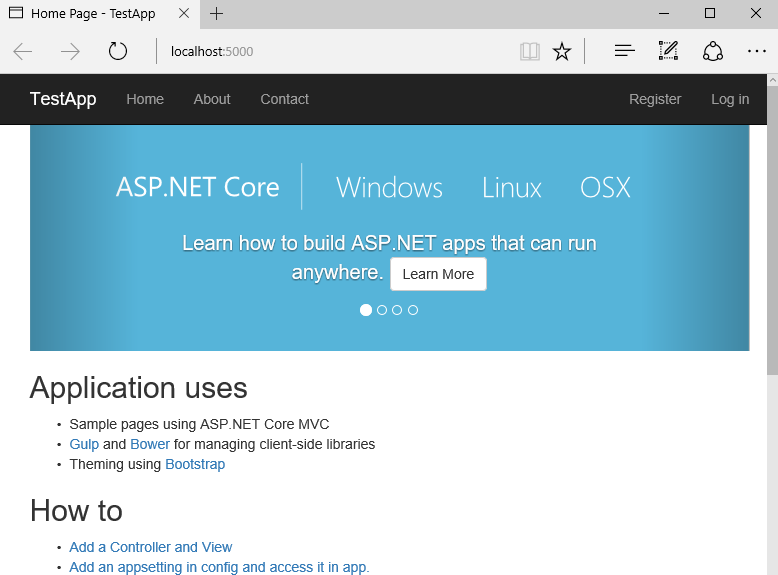
l) Our now website is running as below, once need to stop, in command prompt pressing "Ctrl +C" will allow to shut down the application.
6. Let's try our second option "using Yeoman extension in VS Code"
a) Open Visual Studio Code, go to File - > Open Folder and select folder "C:\VSCode"
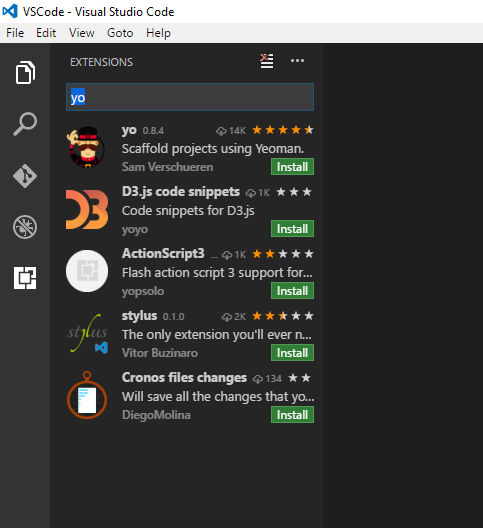
b) Now we have to install Yeoman extension for VS Code, Press Ctrl + Shift + X will provide option to search extension from market place, put yo in search box and install yo extension once appears.
c) Once installed, it will ask to Enable extension, click on it will restart VS Code.
d) Again press Ctrl + Shift + X and select C# extension and install it, Once installed Enabled and restart VSCode.
e) Now press F1 will open actions textbox, type yo and press enter.
f) Next will show as below
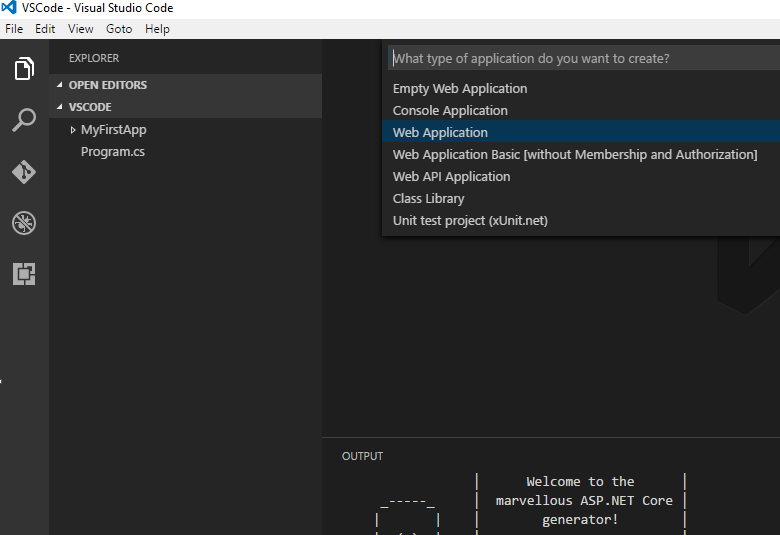
aspnet Yeoman generator for ASP.NET Core Appg) Now, it will show different options to select an template, select *App will again popup with other options as below.
h) I have selected "Web Application", it ask to select UI Framework, Selected Bootstrap and given application name as "TestAppUsingVSCode" in the next stage.
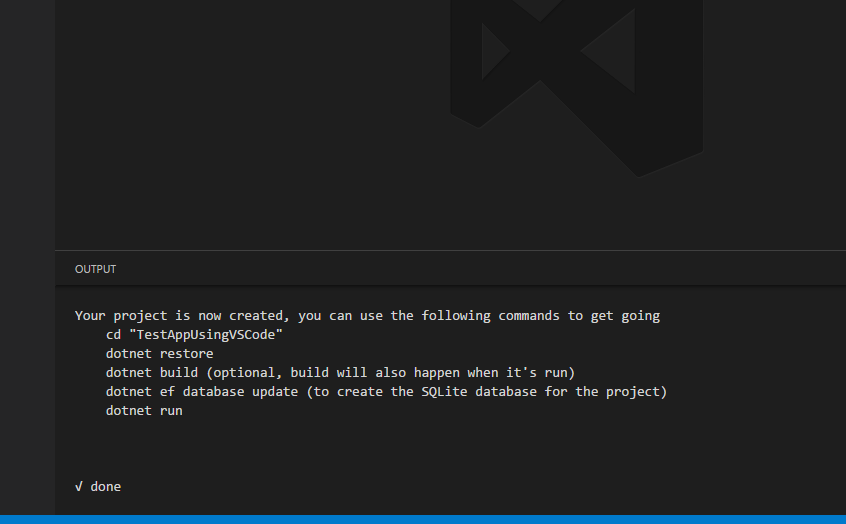
i) Once project created successfully, we can see Done option in Output window.
j) Now click on File -> Open Folder.. and select newly created application "TestAppUsingVSCode" and click on Select Folder button.
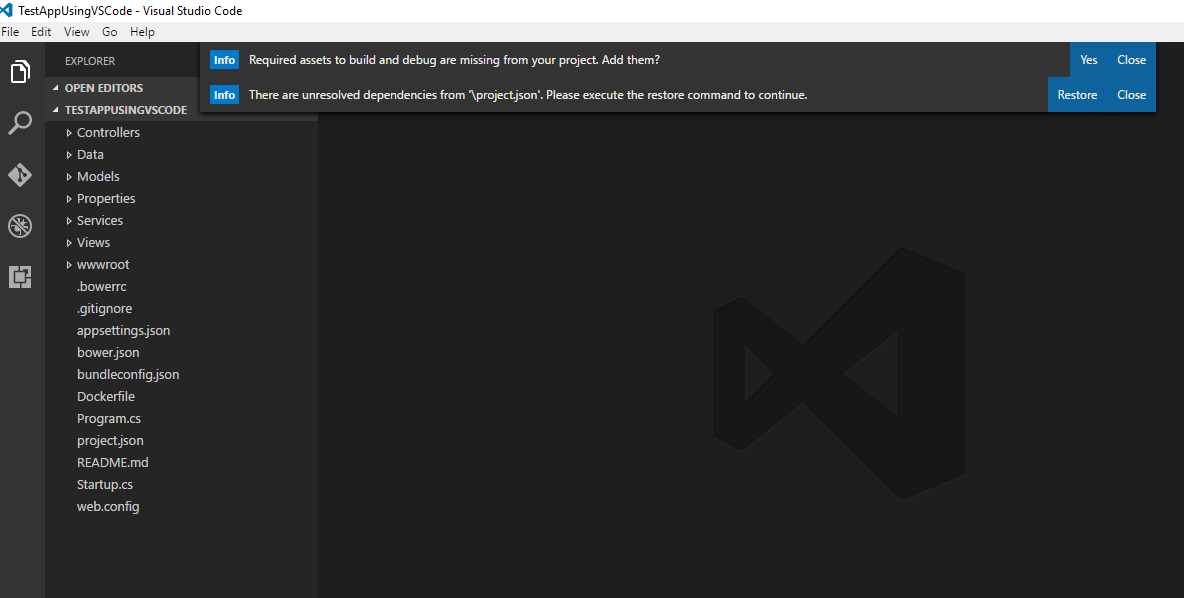
k) Now newly created application is loaded in VS Code and Once loaded there will be 2 notifications on the screen, one to restore the dependencies and other to add required assets to build and debug.
l) Click restore and yes for both the options.
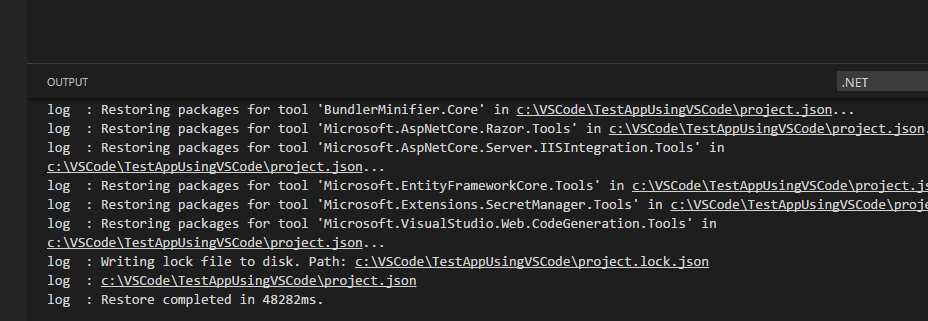
m) Once restore complete the completes status will be shown in the output window.
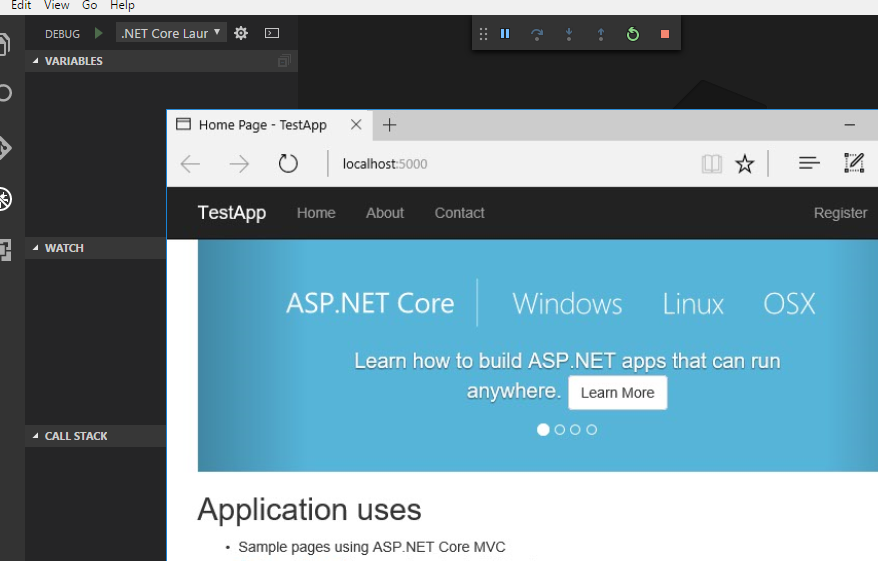
n) Now press F5 to run the application in debug mode. Application may ask to choose a browser to run the application, please select one you want to run the application. For me I have chosen Edge browser.
